
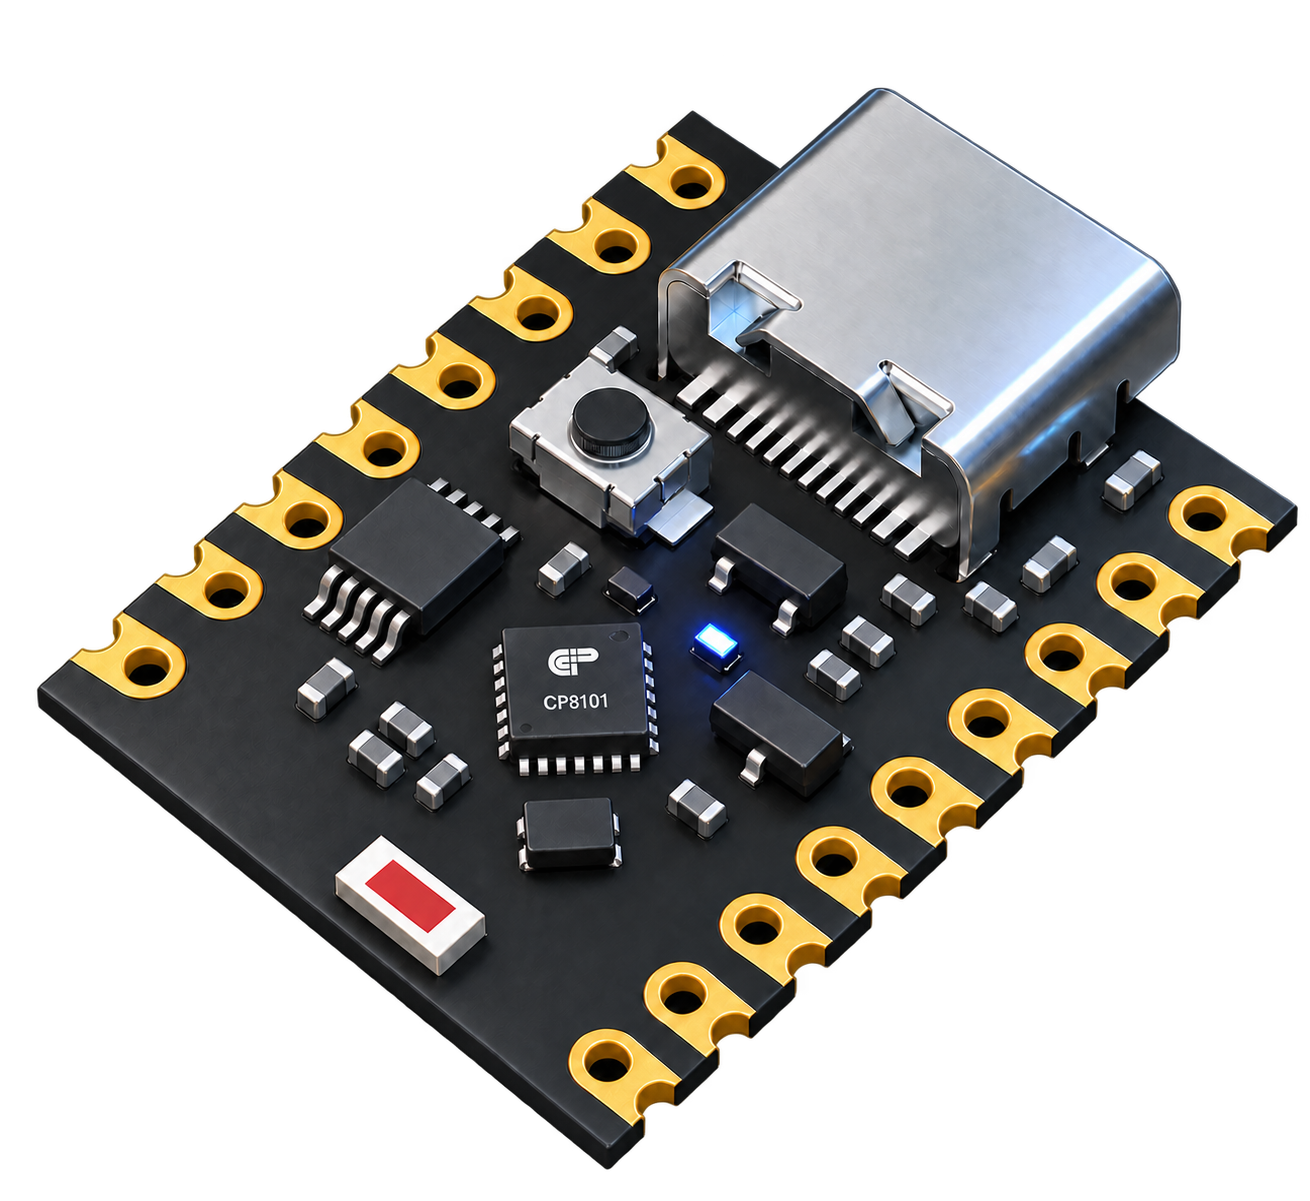
Before you install
- Install Arduino IDE 2.x or Arduino CLI. The first installation needs Internet access to download the CP8000 platform and XuanTie toolchain.
- Have Python 3.9 or newer, its
pip, and the driver for your serial adapter. The uploader needspyserial. Since SDK 0.1.6, it tries to install the dependency when a serial command needs it. Managed or offline environments can runpython3 -m pip install pyserialmanually. - The public SDK README listed 0.1.7 when this page was prepared. Check Boards Manager for the currently available version. The board appears as CP81-Mini; its Arduino FQBN is
chippump:cp8000:cp8001_sop16.
Install with Arduino IDE
- Open File → Preferences in Arduino IDE 2.x; on macOS, open the application settings.
- Paste the stable URL shown above into Additional Boards Manager URLs and save.
- Open Tools → Board → Boards Manager, search for
CP8000, and install CHIP-PUMP CP8000 Boards. - Select CP81-Mini under Tools → Board, then choose the serial port that actually appears for your hardware.
- Open an SDK sketch from File → Examples. Compile first, then upload and validate using the wiring for your current board revision.
See the illustrated English installation guide and the SDK README for requirements and troubleshooting.
First sketch: advertise a BLE name
This short starter sketch uses the public SDK's CP8000BLE API and advertises the website product name. Compile it with CP81-Mini selected. After a successful upload to current hardware, confirm the advertisement with a BLE scanner. This sketch has not been validated on the current CP81-MINI board here.
#include <CP8000BLE.h>

void setup() {
  if (CP8000BLE.begin()) {
    CP8000BLE.advertiseName("CP81-MINI");
  }
}

void loop() {
  CP8000BLE.poll();
}
The full BLEBeacon sketch shows advertising payloads. For connection and data exchange, explore BLEUartEcho. SDK BLE sketches need to keep calling CP8000BLE.poll().
More examples
| Example | Purpose and prerequisite |
|---|---|
| Blink | GPIO starting point using D0; the current board's LED routing and active level still need checking. |
| I2CScanner | Scan an external I²C device after confirming wiring, voltage and available pins. |
| BLEDeviceName | Explore device naming and BLE service advertising. |
Upload and development notes
- Use Boot Target → Flash for normal examples. OTP is a separate programming target; do not select it for ordinary experiments. Check board power, voltage and serial wiring before upload.
- Auto Upload Reset is enabled by default in the SDK. A first upload from older firmware, or a sketch that stalls or sleeps, may still require the physical Reset button. Software reset needs a running firmware image that can acknowledge it.
- The current board appeared on macOS through Type-C as
USB Serial(VID_1A86/PID_7523) and/dev/cu.usbserial-210. This confirms USB serial enumeration; serial data transfer and Arduino upload remain untested. If Windows shows no COM port, use the vendor driver in the download center. The older drawing is used only for external JP1/JP2 I/O labels; its other circuits have changed. Do not apply 5 V to GPIO without checking its limits. - The newly supplied RD pin definition states that only P8/P9 can operate as 5 V I/O after the specified register setup; other GPIO outputs are 3.3 V. 5 V I²C is also limited to P8/P9. P0 has a power-up transition and P23 needs a separate bit[12] setting. Read the wiring and voltage notes in Specifications before connecting 5 V.
- BLE, OTA and production flashing remain early public SDK workflows. BLE OTA needs a matching bootloader and application layout. A normal upload or the advertising sketch above does not validate OTA.
- A successful compile proves only that the toolchain generated code. Upload, BLE advertising, power and peripherals require separate tests on current CP81-MINI hardware. If Windows Boards Manager shows an old package, follow the SDK README's cache guidance; do not remove the entire Arduino15 directory.